Why you might want to boot from a USB drive
There are some cases where you need to boot from a USB drive:
- the operating system installed on the hardware doesn’t boot anymore and you need to repair it
- installation of a different operating system
- forensic analysis of the computer
- booting an embedded system like a Raspberry Pi
- just for fun ;)
Creating a bootable USB drive
Creating a boot stick on a Linux system is quite easy. One can either use the command line tool ‘dd’ or one of many available GUI programs. The first solution is the most flexible one because ‘dd’ is already installed on most linux systems. However, it is also kind of dangerous if you do not watch out what device you flash. One can easily erase the own hard drive by mistake. So I also show you the GUI program Etcher which takes care you write to your USB drive or SD card.
Using the ‘dd’ command
The ‘dd’ command is used to convert or copy files. Sometimes it’s referred to as ‘disk destroyer’… because one can easily erase the hard drive by mistake. Here is the basic syntax:
dd if=/path/to/inputfile of=/path/to/outputfile
The input is specified by ‘if=’ and the output by ‘of=’. In our case ‘if’ is the .img- or .iso-file (for example ubuntu.iso), ‘of’ is the USB drive.
Step 1
Find the correct drive. This is extremely important! If you flash the wrong device you can erase your own hard drive! To find the name of your USB drive use the command:
sudo fdisk -l
In the following ‘/dev/sdb’ is used as an example. Make sure you use your own device!!
Step 2
Make sure the drive is not mounted and then flash your USB drive. In my case the USB drive is ‘/dev/sdb’ and the command to flash it is:
sudo dd if=/home/simon-cybersec/images/ubuntu-2204.iso of=/dev/sdb bs=1M && sync
Here the option ‘bs’ is specified in order to write one megabytes at a time. ‘sync’ makes sure all the data in the buffer is written to the device.
This step might take some time. Be patient.
When it’s done you can boot from the USB drive.
Using the GUI program Etcher
Etcher is a tool for flashing USB drives or SD cards and is available for Linux/Windows/Mac. It takes care that you don’t override the hard drive. Download it from the official website.
One file will be downloaded. In my case it is named balenaEtcher-1.7.9-x64.AppImage. First make it executable by typing:
chmod +x balenaEtcher-1.7.9-x64.AppImage
Then execute it:
sudo ./balenaEtcher-1.7.9-x64.AppImage
Etcher looks like this:
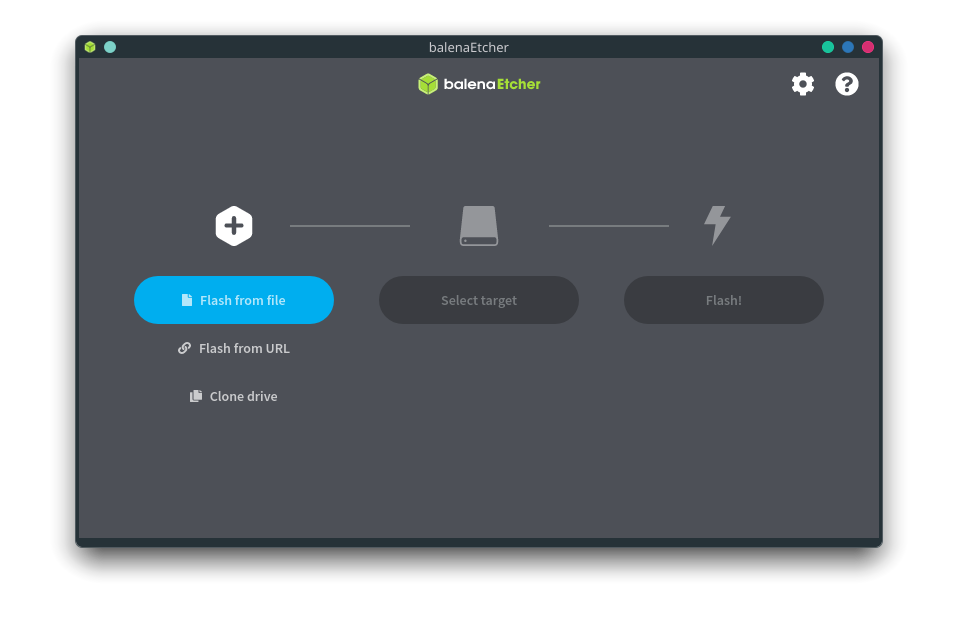
Select your .iso- or .img-file you want to flash to your drive. Then select your USB drive and click ‘Flash!’.
Congrats, you did it!
How to boot it
In order to boot from the created USB drive plug it into your computer and reboot. During the boot enter the BIOS/UEFI-BIOS. How to enter the BIOS is different for every manufacturer, so just do a quick google search about your computer. In the BIOS change the boot order in such a way that the USB drive is booted before the hard drive. Save and exit the BIOS. Now you can run your operating system from the USB drive!