What is a virtual machine?
In the CyberBasics #1 you learned how to create a bootable USB drive and why you might want to use it.
With a virtual machine (short “VM”) it is possible to boot another operating system while running your host system. So you can virtually run multiple operating systems at the same time which often is extremely useful. For example you can run a Linux OS on your Windows PC. The so called hypervisor lies in between the host OS and the VM. One can specify how many CPU cores the VM gets, how much RAM it can use, etc. VMs are very cool and make your life so much easier. And: VMs are very easy to install.
Installing a virtual machine (VM)
Step 1: Install the hypervisor
There are two dominating hypervisors: VMware Workstation Player and Oracle Virtual Box. It doesn’t matter which one you choose, they are quite similar. Here I explain the process using VMware Workstation Player. You can download it here.
Open VMware Workstation Player: On the left side all the recently created VMs are listed. If you click on a VM its specifications are shown on the right side.
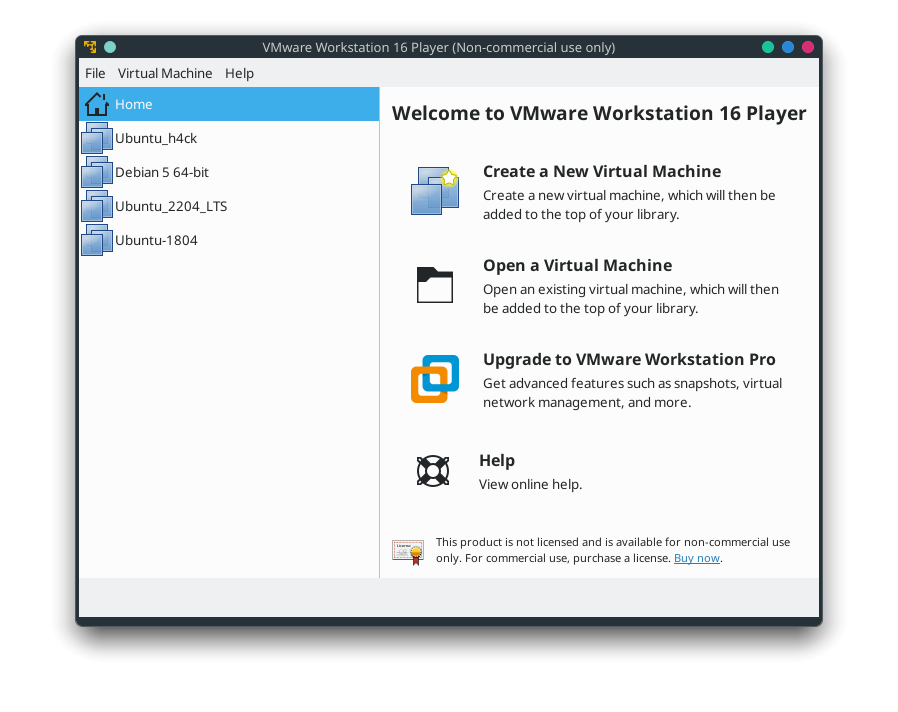
Step 2: Create a new VM
In order to create a new virtual machine go to File -> Create New Virtual Machine.
Step 3: Select operating system
Now you can select the ISO file of the operating system you want to install. How to get an ISO file? Just have a look at the corresponding homepage. For example here you can download Ubuntu 22.04.1 LTS.
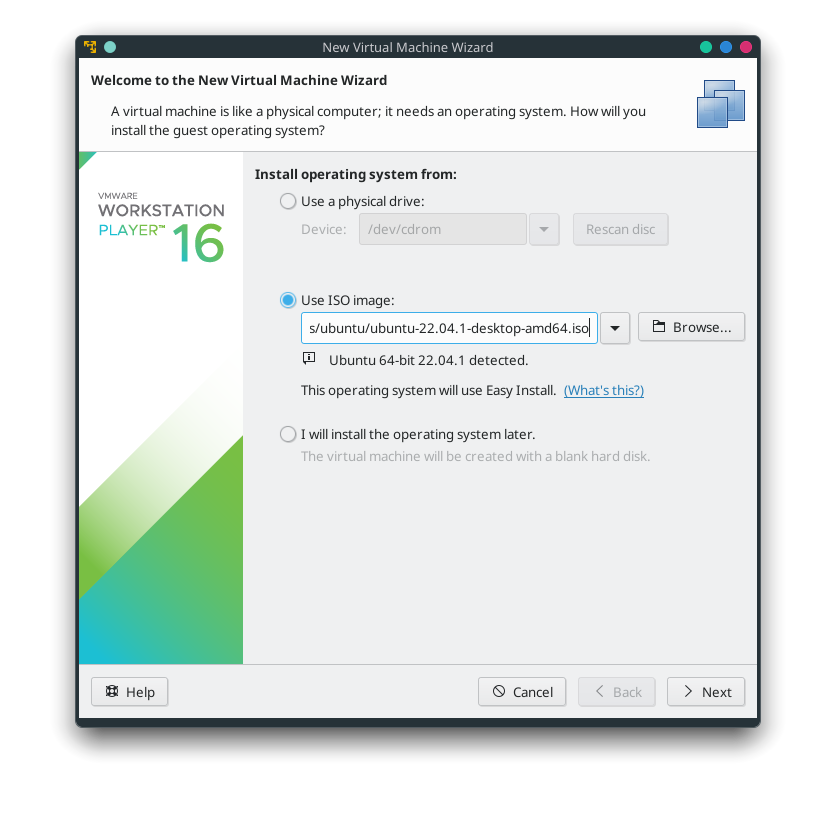
Step 4: Personalize your OS
At step 4 you can specify your user name and a password.
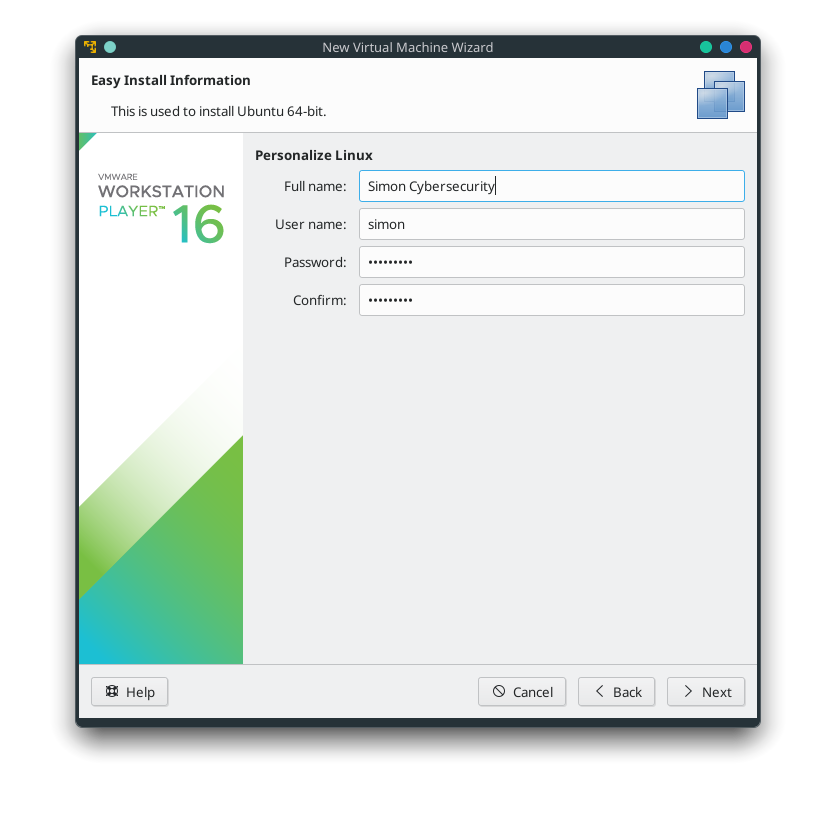
Step 5: VM settings
At the next step you have to set the name of your VM and the location where you want to store it.
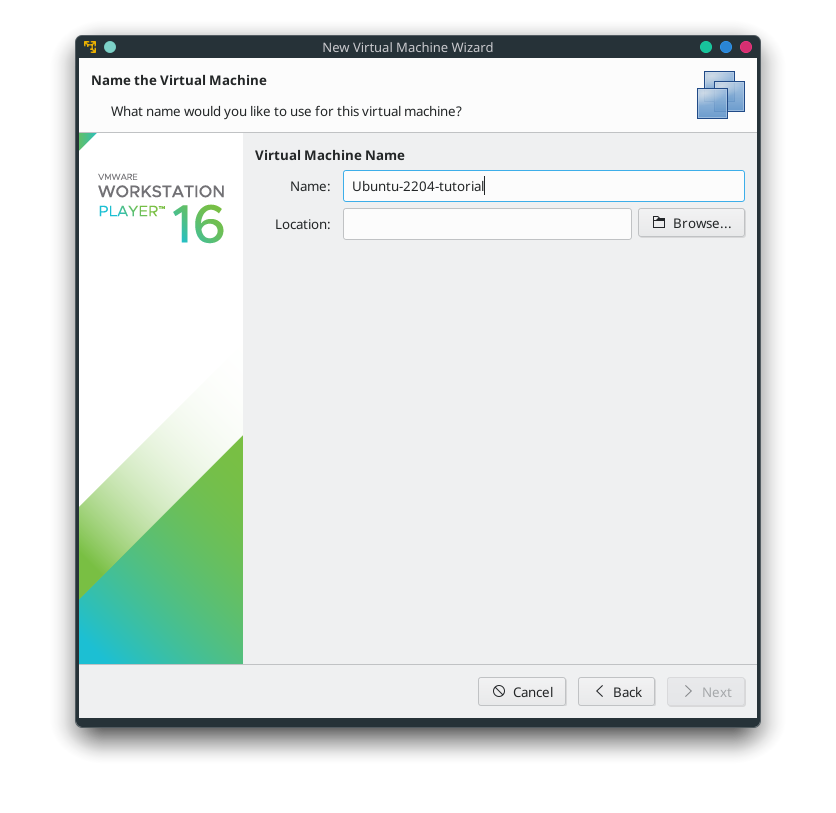
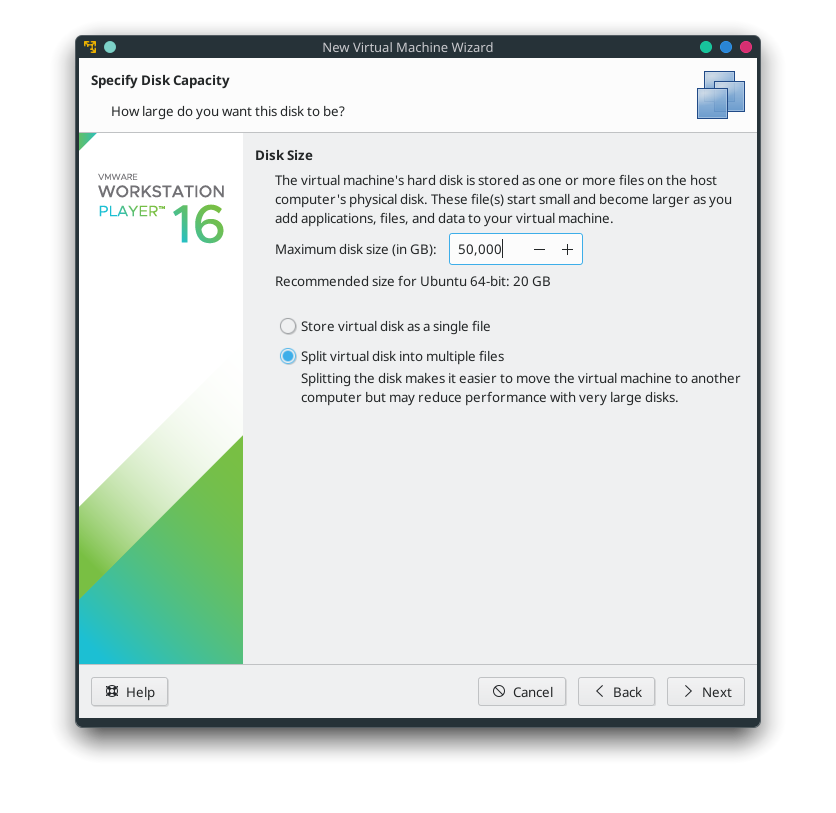
Step 6: Disk size
Now you have to specify your maximum disk size. This is important to understand: The VM file(s) starts small and becomes larger if you install programs, store data, etc. until the maximum disk size is reached. I recommend to set it to 50 GB.
Note: If you want to increase the maximum disk size later you have to do it from within another virtual machine.
The next step is to decide whether to store the virtual disk as one single file or to split it into multiple files. I recommend the second one as it makes it easier to move your VM to another computer.
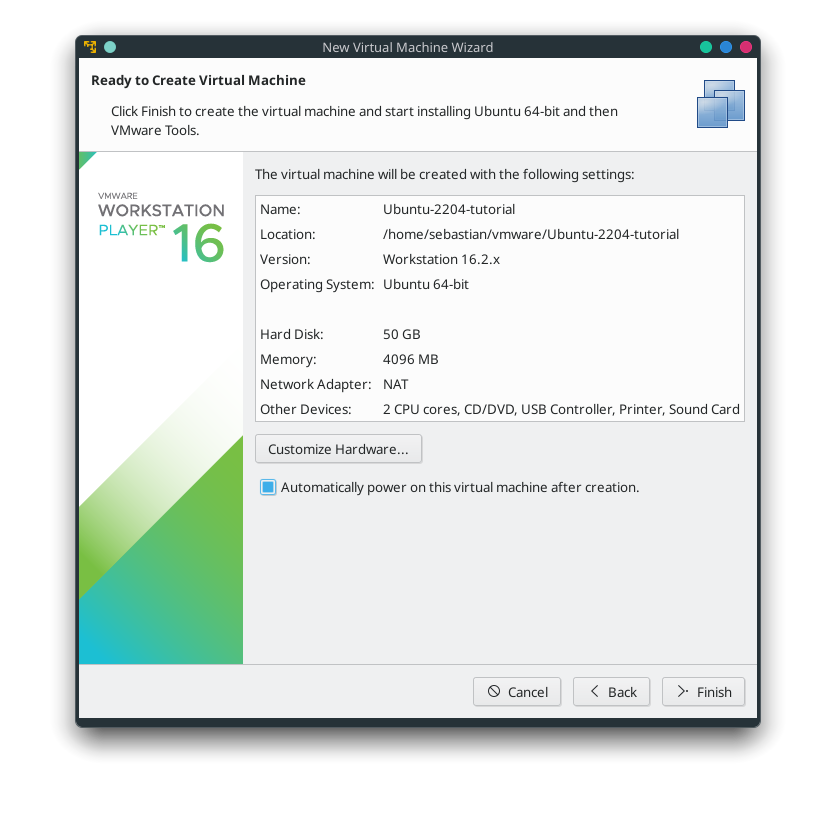
Step 7: Review settings and customize hardware
Here you can review all the settings you’ve made. If you want to change the number of CPU cores or the amount of RAM storage, etc. you can do it by clicking on Customize Hardware… Now click on finish.
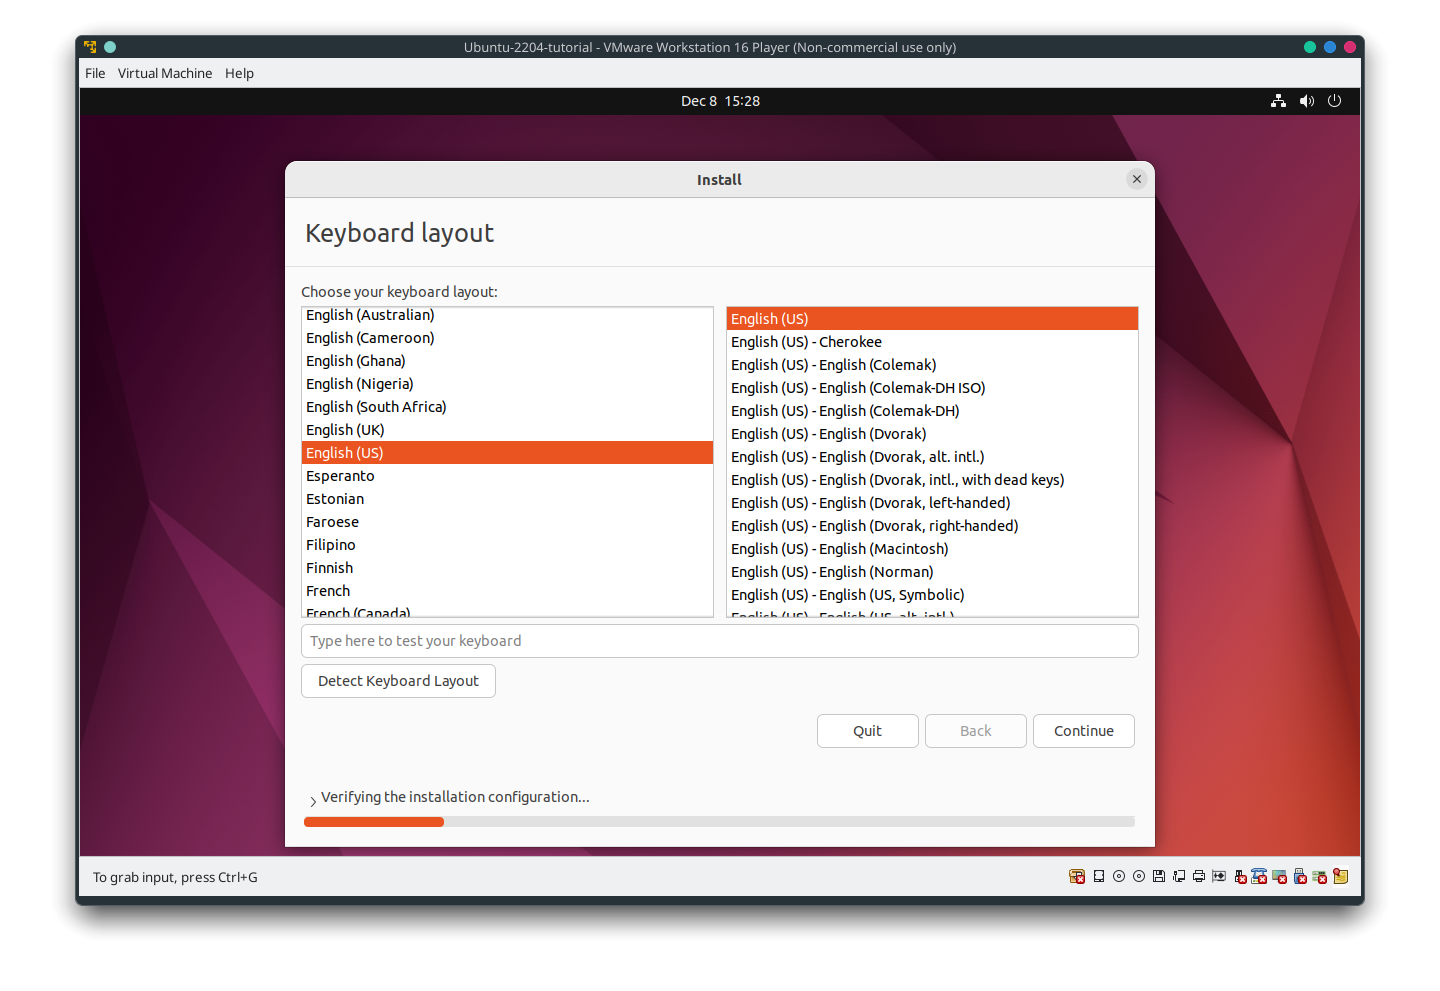
Step 8: OS installation preparation
Now some preparation for the installation of the operating system has to be done. As an example I install Ubuntu 2204 LTS. At first select your keyboard layout:
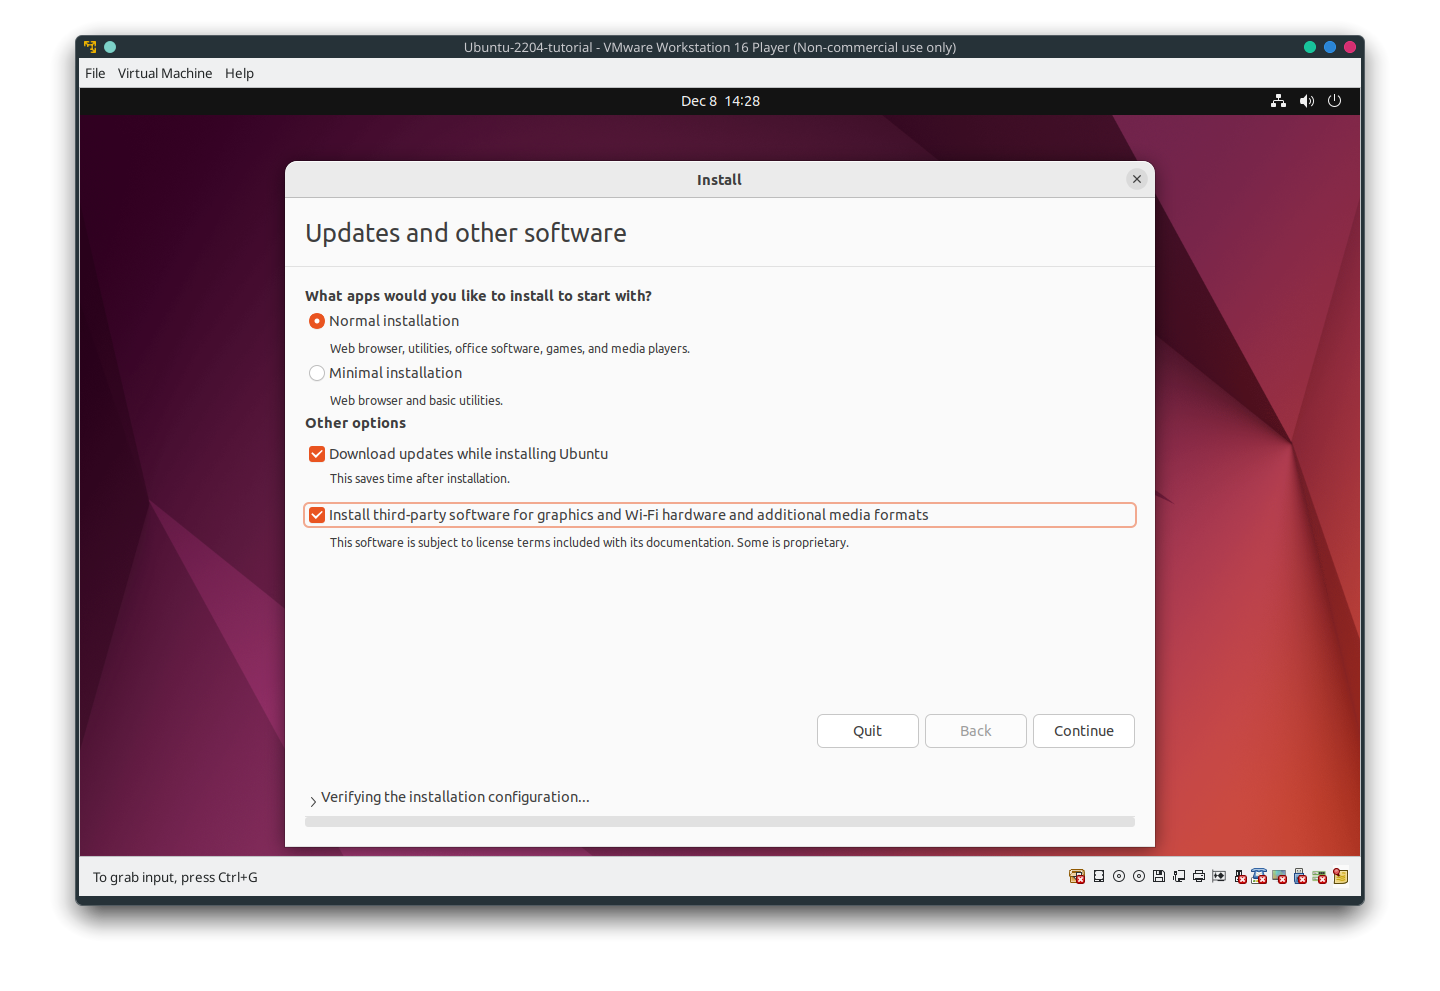
Step 9: Updates and third-party software
I recommend to install third-party software. But of course you don’t need to. If you want to install it check the corresponding box.
Step 10: Installation
Now you are warned that the disk will be erased. But don’t worry: we are installing in a virtual environment. So your host disk won’t be erased ;) Click on Install Now. Then you will be asked once again. Just click Continue.
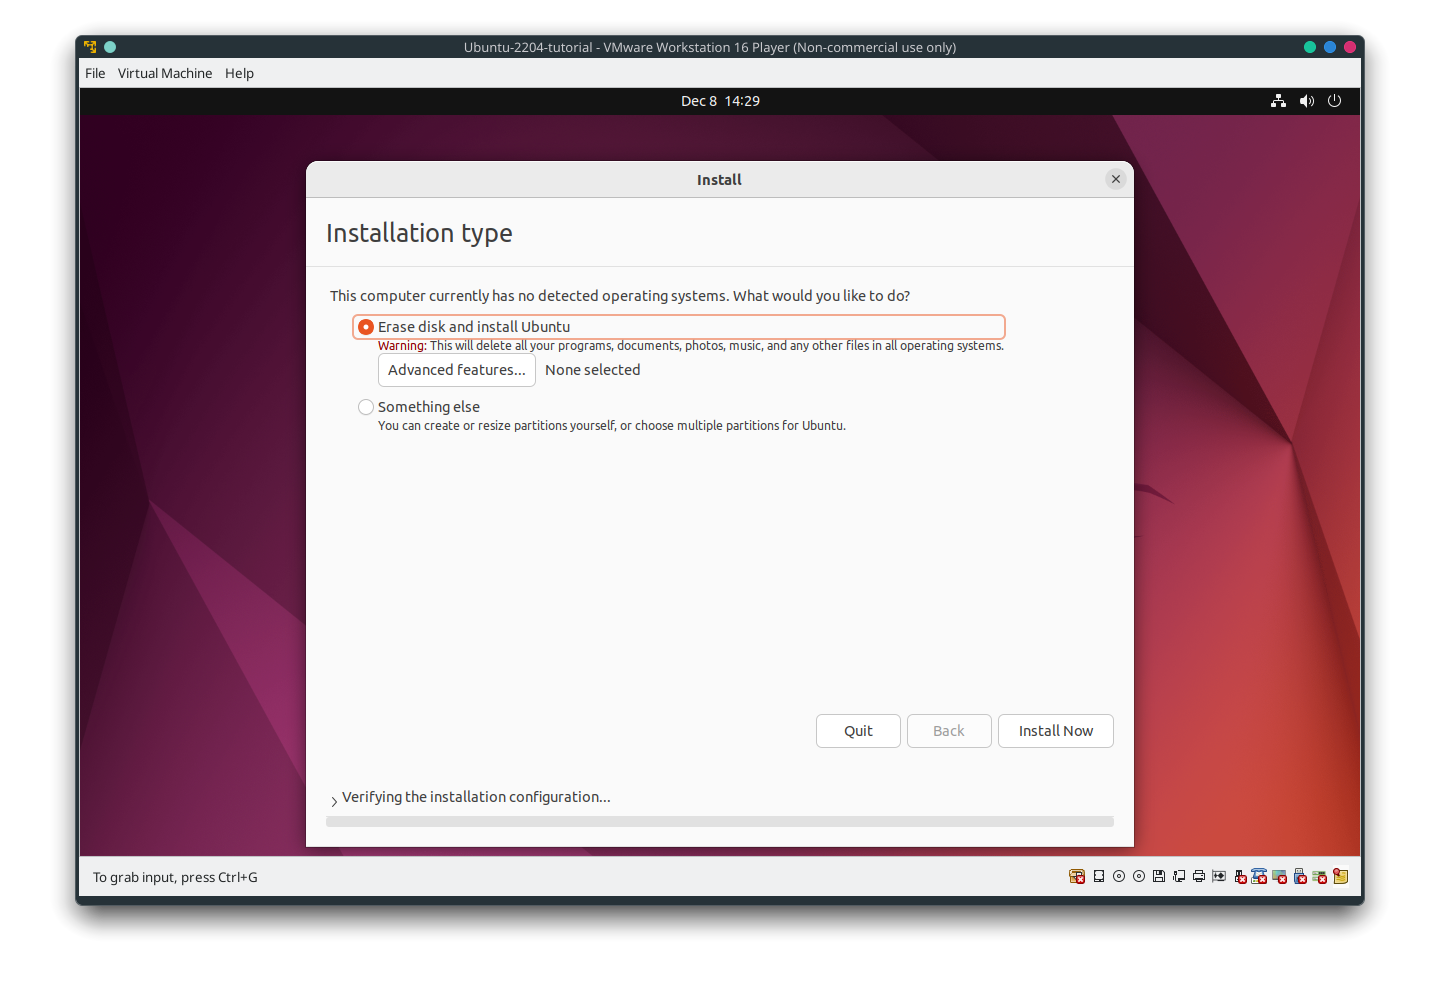
Step 11: Further settings
In order to configure the VM correctly you are asked for the timezone you are in. Afterwards you are asked once again for your VMs name, your username and a password. These settings override the ones you made in step 4.
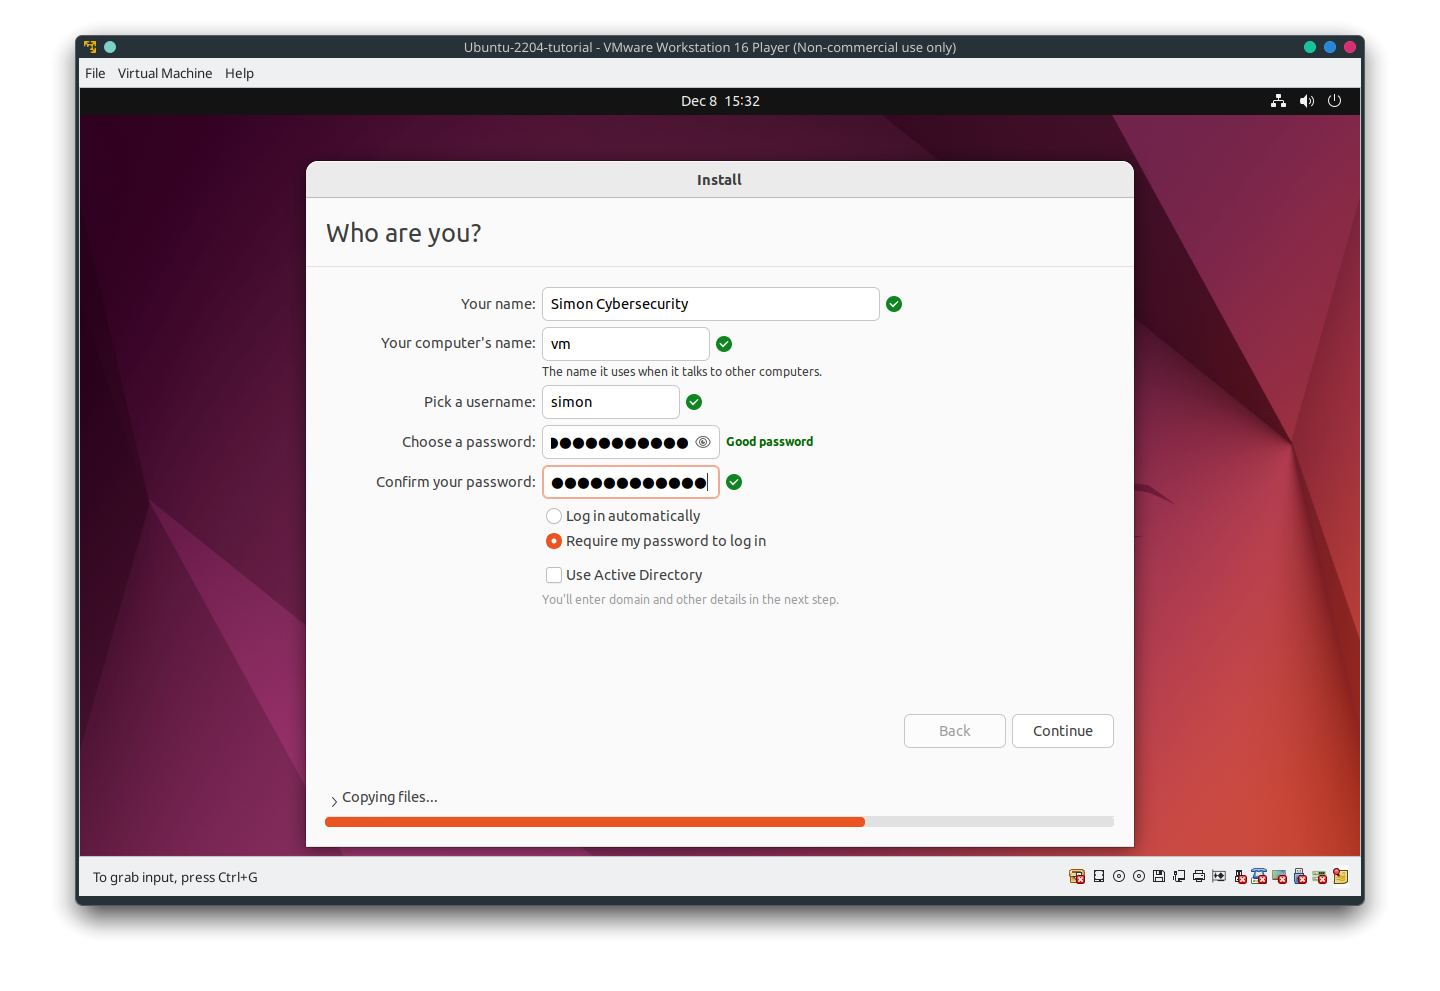
Step 12: Well done ;)
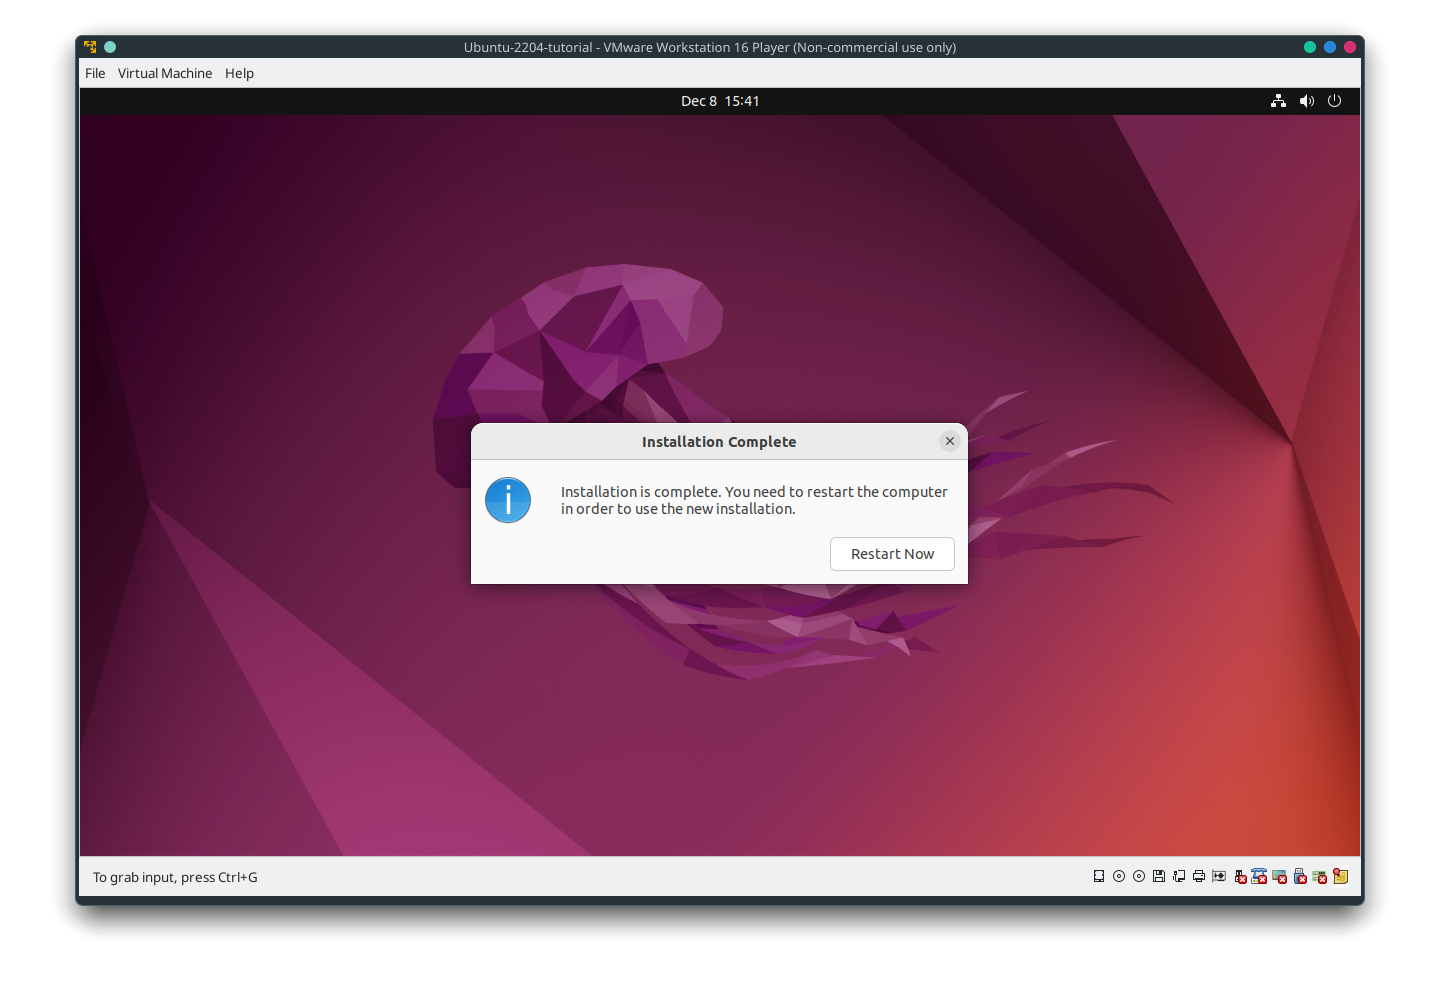
Be patient, take a cup of coffee and wait until the installation has finished.
Update your machine
Once the installation has been finished you can boot it and log in. Now you should do an update and upgrade. Open a terminal (Strg + Alt + T) and type:
sudo apt-get update && sudo apt-get upgrade -y
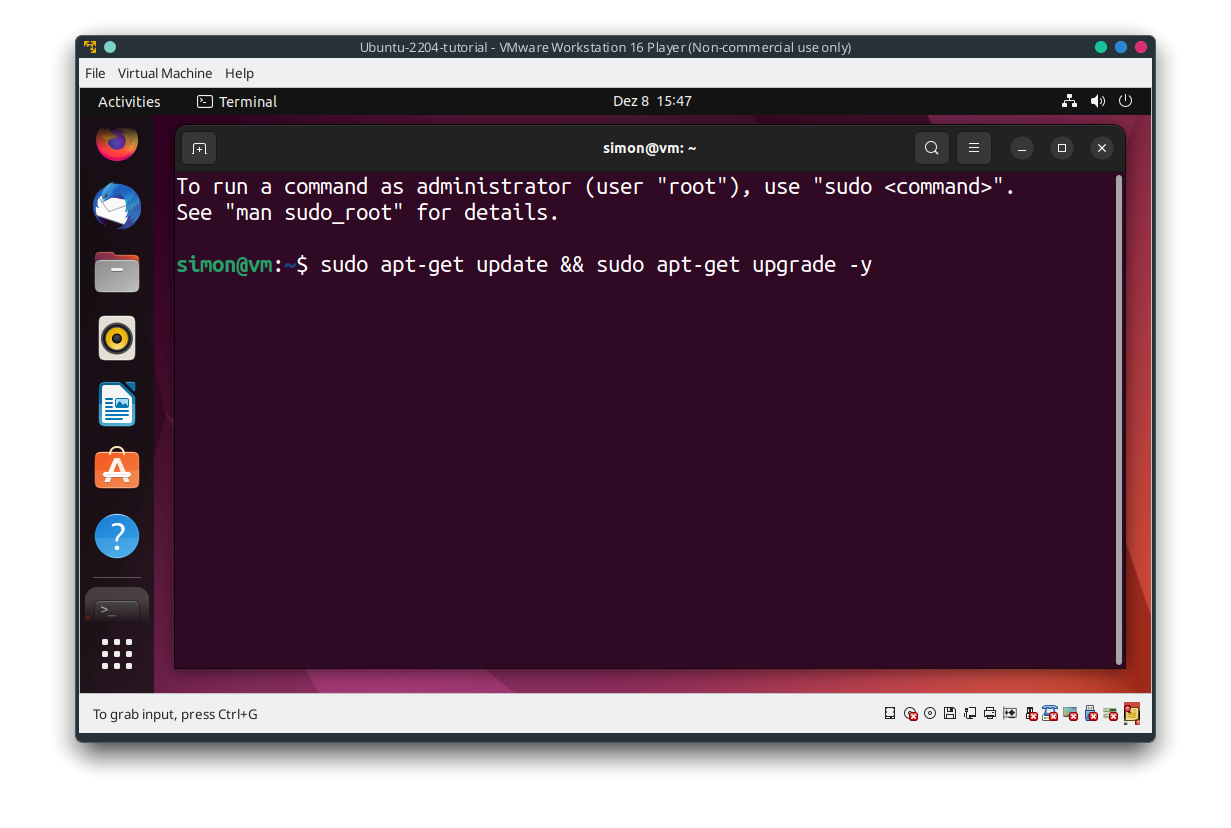
This will probably take some time. Just take another cup of coffee ;)
Congrats! You’ve done it!
Just for fun…
Let’s have some fun and install cmatrix. Open a terminal and type:
sudo apt install cmatrix
Then execute it by just typing cmatrix.
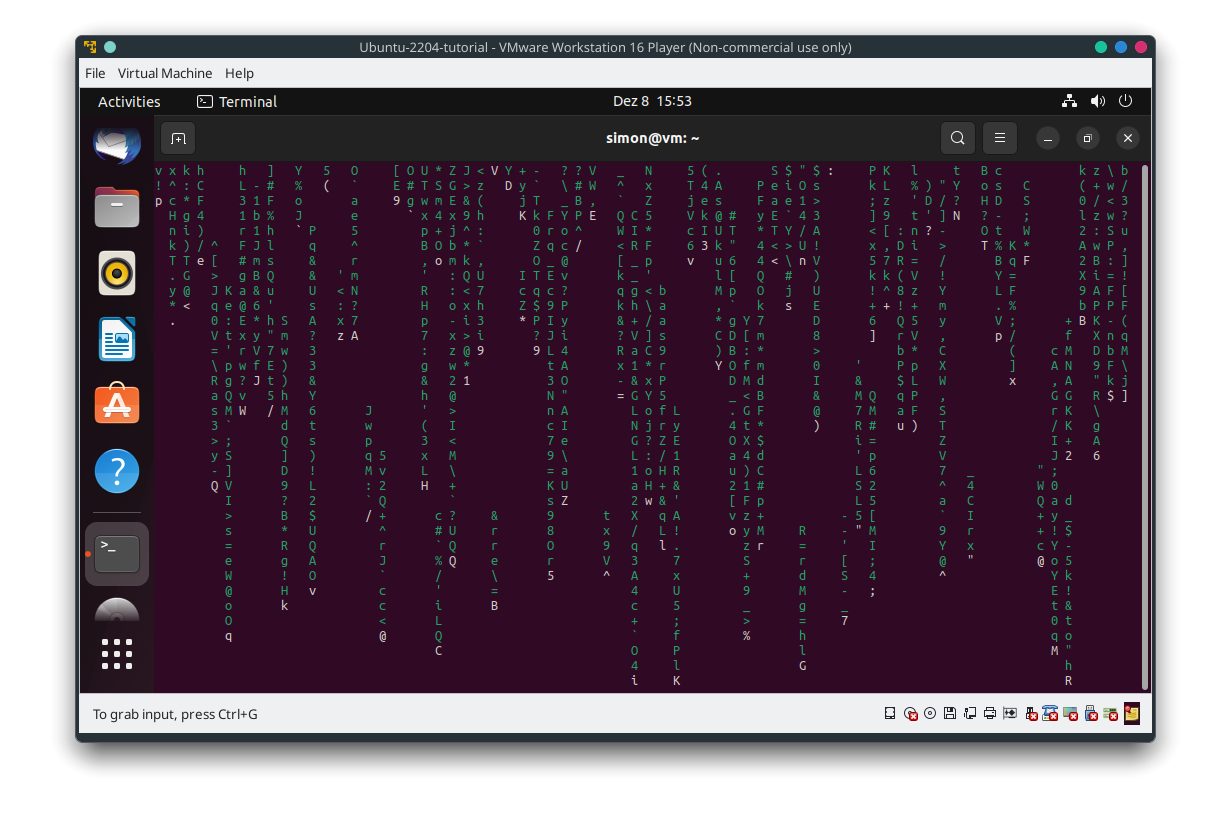
It looks wonderful, does it? ;)